This is the first part of a series on scanning your own negatives. I intend to look at a few case studies on different types of image and film.
For quite a while after I first started shooting in film, I would expose my film, package it up and send it off to a lab (AG Photolabs in Birmingham) and get them to develop and scan the images. For their part, the lab was excellent and every film that I sent them came back with a CD full of perfectly scanned and colour balanced shots in JPEG format, ready to print, share etc.
The one problem with this, of course is that you have to pay for it. While I was always very happy with the results I got from AG, I felt that if I was going to be shooting a lot of film (and I do), it would get very expensive, very quickly. I should point out here that I felt the service I got from the lab was worth every penny. For around £10, I got perfect results, every time. But, £10 for processing and scanning, added to the £5 for a roll of film meant that every roll of film I shot would cost me £15 at least.
So, I went onto eBay and bought the first decent photo scanner that I found, a Canon CanoScan 8800f. The seller still had all of the film mounts (35mm strips, 120 medium format strips and 35mm slides) and best of all, it cost under £50. The scanner turned up a few days later in great condition and ready to scan.
But, not too fast! It turns out that Canon don’t still support the 8800f with new driver updates and current versions of MacOS (10.11) and Windows (Windows 10) are not supported. In fact, the driver doesn’t work when you install it. I did manage to get one of the bundled applications to work though, MP Navigator EX 1.0. This is fairly limited, but perfectly functional software that gives you full access to the standard driver software, but no TWAIN access (a software interface that lets you use the scanner directly in applications such as Photoshop). I also found that the software will not give you access to 48 bit TIFF output, which is the closest thing to a RAW file that you can get, working with negatives this way.

Canon’s TWAIN software is no longer supported on newer operating systems, leaving me with a crippled software solution.
I have to say that I’m quite disappointed with Canon on this front. As far as I can tell, equivalent age Epson scanners are still supported, and also go for quite a bit more on eBay. You pays your money, you takes your choice, I guess.
A solution exists, in the form of Vuescan from Hamrick software (a review is coming soon). You need the pro version to be able to scan film, but you get support for just about every scanner ever made and lifetime updates. It did occur to me, after I bought the software, that the cost of the software was probably as much as the upgrade to a much better Epson scanner. Did I mention that Vuescan pro isn’t cheap ($89.95 at the time of writing this article)?

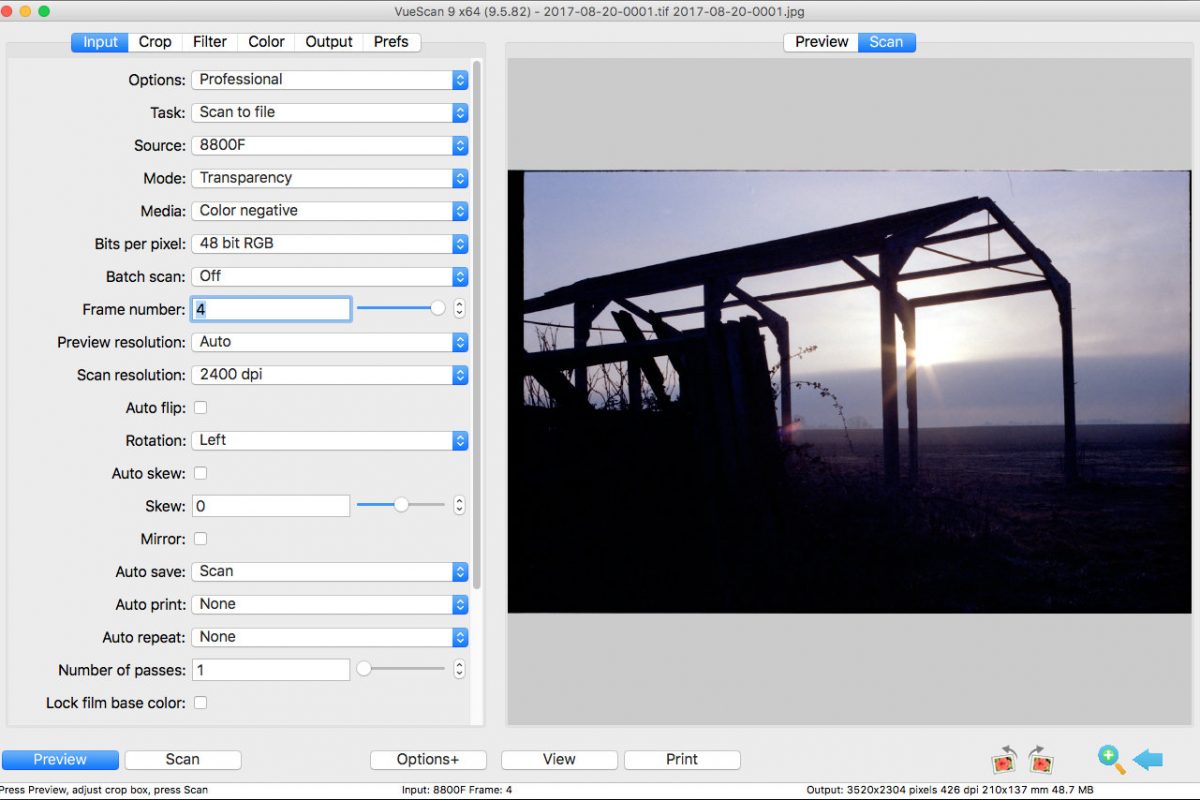
Screenshot of the main interface of Vuescan
Anyway, so how do the results come out? For reference, here is a frame that I shot on my Olympus OM-2n with Kodak Ektar 100, processed and scanned by AG Photolabs.

Scanned by the lab, AG photlabs
And here is a 100% crop.

100% crop of the lab scanned image
Here is the same image, scanned at 24bit straight to JPEG using Vuescan at the maximum resolution of the scanner (4800dpi).

Home scanned 4800dpi
And here is the 100% crop.

100% crop of 4800dpi scan
First off, you’ll note that the colours are totally different. Using Lightroom, Photoshop, or a similar program (Affinity Photo is an excellent choice, if you don’t want to pay Adobe £10 a month), you can change this and warm it up, of course. A bit like this:

2400 dpi scan with colour balance and sharpening applied
One thing that is quite evident when comparing the AG image to the home scanned image is that there is quite a lot more detail in the lab scanned image, especially in the highlights. The transition into the very lightest areas is also much smoother. I’m sure that a bit of work on the scanning front, maybe using 48 bit TIFF output could correct this by recording more colour detail. Also quite evident is how much sharper the lab scans are than the flatbed scanner, produced at home.
So, a further scan of the same image at 48 bit, then converted to a jpeg using Affinity photo with the required white balance changes.

2400 dpi scan in 48 bit with the highlights recovered
A bit better, but still a bit of detail missing. Maybe a bit of extra contrast and I’ll be there.
So what can we take home from all of this, admittedly very limited, testing? Well first of all, the labs certainly earn their money and are capable of much better quality than home scanning on a £50 scanner is capable of. You can get decent results from home scanning, but it takes a lot more work.
So, will I continue to home scan? Yes, probably. The cost difference (bear in mind that I also develop my own films) makes it worthwhile. If I was going to use the results professionally or enlarge the images to wall art sizes though, I would almost certainly get a lab to scan the negative.
My plan is to continue this series with a look at black and white and medium format negatives, as well as the effect of scanning at different resolutions. Please stay tuned for more updates.
Comments are closed